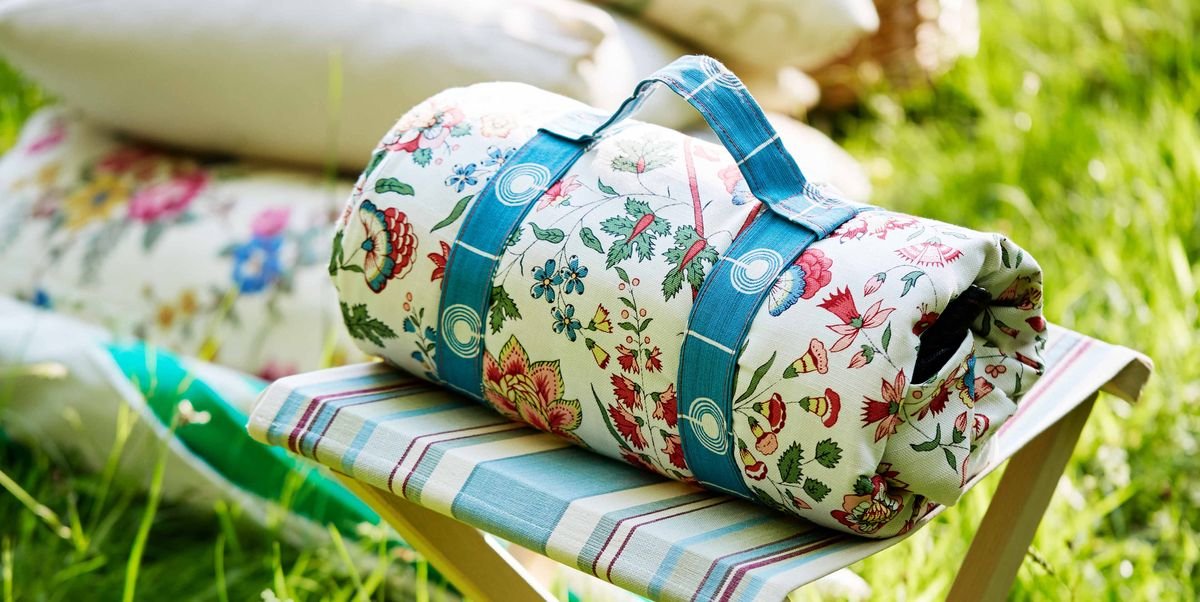
How to sew a picnic blanket with our step-by-step guide
Summer is finally here! So why not sew your own picnic blanket to spend some quality time in the garden with friends and family.
If you’d like to learn how to sew a picnic blanket, look no further than our step-by-step guide. This craft project involves using a sewing machine, so is best for intermediate sewers who know the basic sewing techniques.
This guide allows you to create a picnic blanket to whatever size best suits you – simply adjust the size of your cotton accordingly. We love the idea of making this blanket using a pretty floral print cotton, but you can pick a print to match your style.
Happy sewing!
You will need
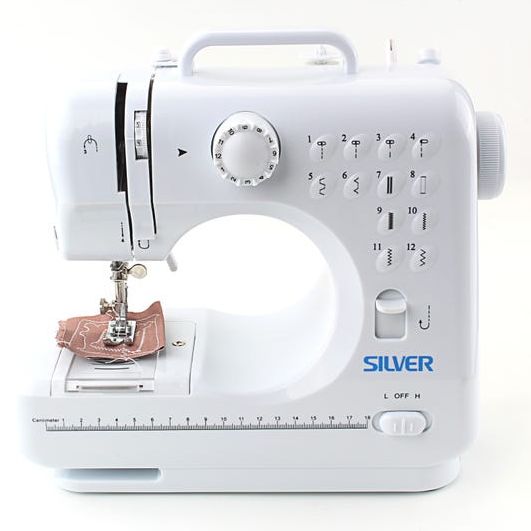
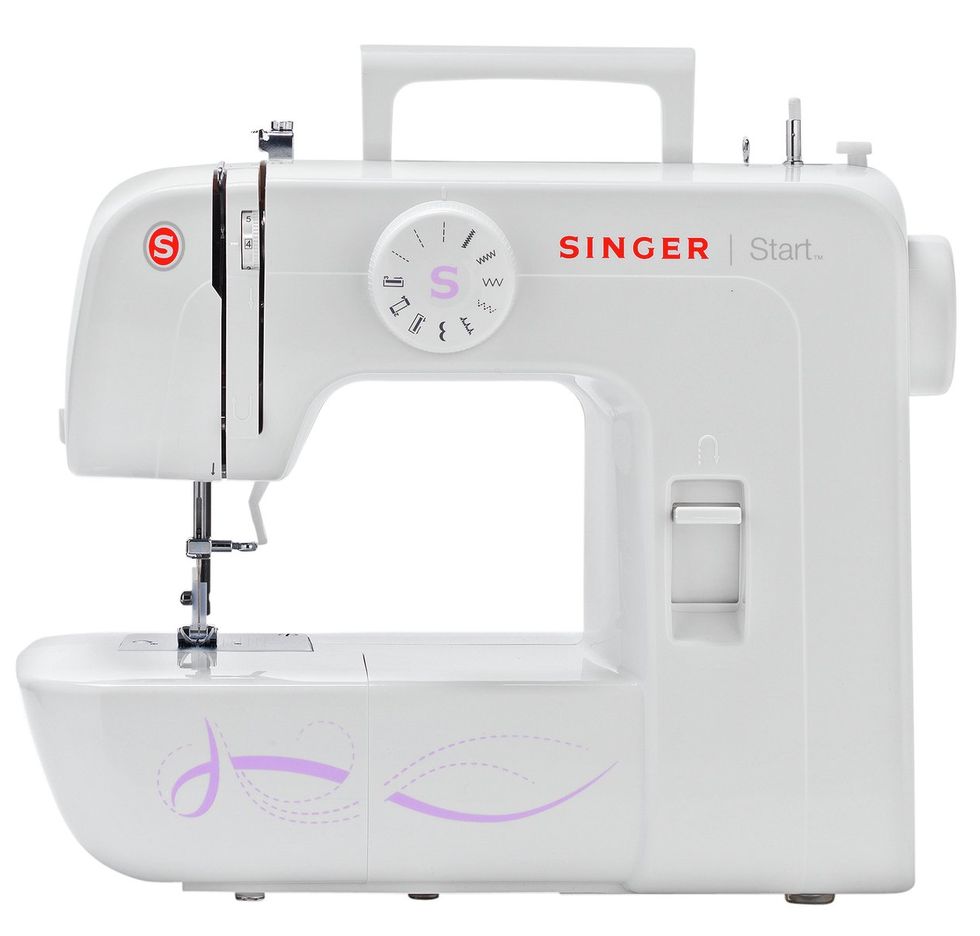
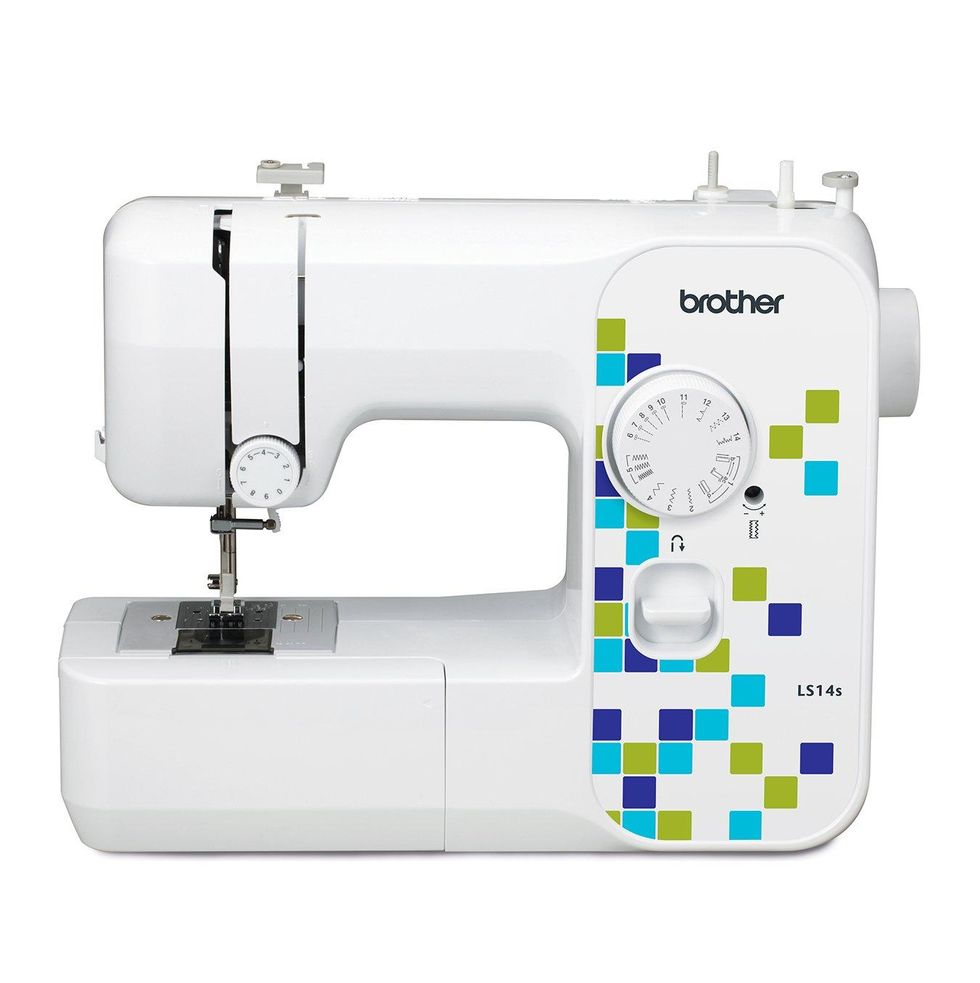
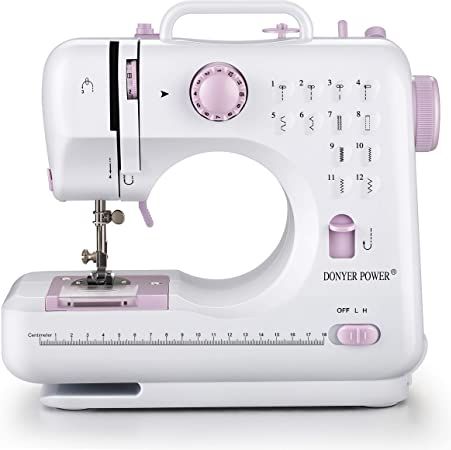
Best Basic Sewing Machines
How to make
1. Cut two fabric pieces to the desired size for your picnic blanket.
2. Place the fabrics with their right sides together, then pin and sew around the outer edge, leaving a gap on one side.
3. Trim the corners, taking care not to cut through your stitching and turn the blanket right side out. Hand-sew the gap closed.
4. To make the handle, cut three fabric strips – two long enough to tie around the rolled blanket and one to connect between the ties, allowing for slack to carry the blanket. Fold each strip in half lengthwise with the right sides facing, then sew along the long edge. Use a safety pin to turn the fabric right side out, tuck in the raw edges and slip stitch the shorter edges closed.
5. Lay out your ties and handle in an “H” shape and sew together. Finally, roll up the blanket and tie the handle onto each end for carrying.
TIP: Use two contrasting fabrics for a reversible blanket or use a groundsheet to make it more hard-wearing.
Do you love crafting? Share your creations with us by tagging @primamag in your pictures on Instagram!
